*Side Note* This little project actually got completed over the summer. Better late than never I guess.
This thing was on my mind ever since we first considered retrofitting a dishwasher into the cabinets. The tape measure showed that we’d be left with ~6″ wide cavity.
We chose to position the dishwasher in such a way that the far cabinet (next to the fridge) remained intact. That’s where I built those roll out shelves previously. From there we decided to push the DW all the way to the right of the double bay cabinets as you can see in the previous DW install post. This allows us to stand at the sink and easily load the dishwasher. It is also in a good spot for unloading as you can reach just about all the main storage spots from the same stance.
Enough of that, lets get onto building the slide-out.
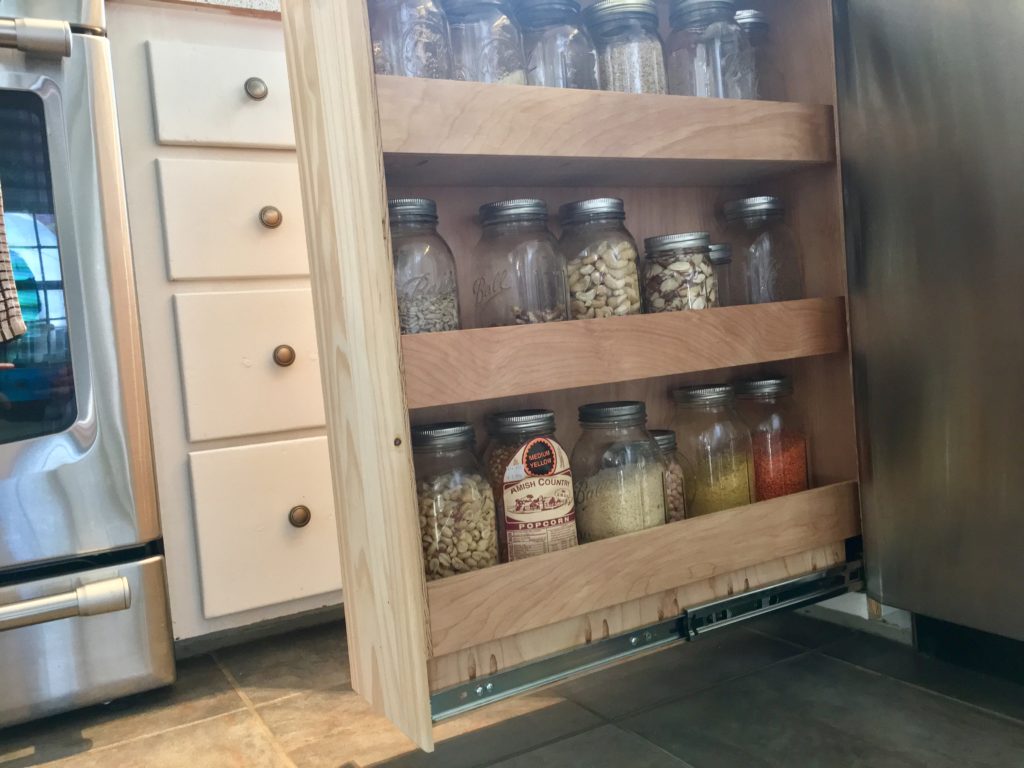
Once again I am really learning as I go. The main challenge that I anticipated was trying to retrofit something into a very deep and narrow space with access only from the front. To make a long story short there was a lot of head-scratching. I eventually figured out a way to mount the slides directly to the cabinet sides rather than my original hair-brained idea of building a base sub-assembly and fastening that to the cabinet floor. I liked the direct solution much better because it was simpler and spaced the slides further apart for more stability which is key for such a tall and heavily loaded slide out. But at this point I wasn’t even sure that I could get away with just the two bottom slides and have enough stability. I decided to move forward and deal with the consequences later.
After getting it all buttoned up and loaded with jars I was surprised that it seemed like the bottom two slides would get the job done. If I were building the cabinets and everything from scratch I’d definitely figure out a slide support for the top for added stability but it was just going to be a big hassle to fudge something in there. As you can see there are three shelves with room for six large mason jars each. It’s amazing how much stuff we can stash in there!
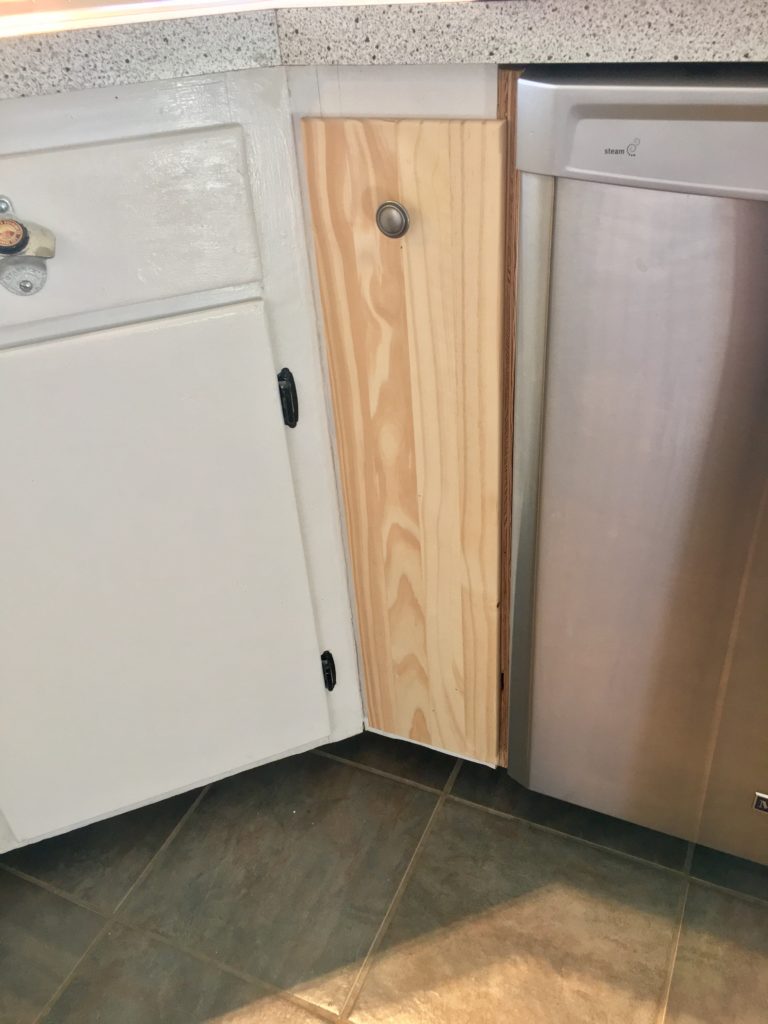
Once the sliding mini-pantry was functional I just attached a knob and left the front unfinished for a few weeks. Eventually I asked a coworker with a wood shop to plane down a board to the proper thickness. Then I cut it to size and rounded the edges with a router so that the face would blend in reasonably well with the existing drawer fronts.
So there it is, the nearly-finished slide out mini-pantry. Just needs some paint to match but the important part is that it has been functioning brilliantly for about three months now. Thanks for reading!


