There was a short time when the shop was nice and tidy. I failed to take any photos of the whole enchilada but I did manage to make a short video. You will have to check it out to see the finished work bench and other details. Also, check out the photo gallery at the bottom. Still pretty new to this whole blog thing…
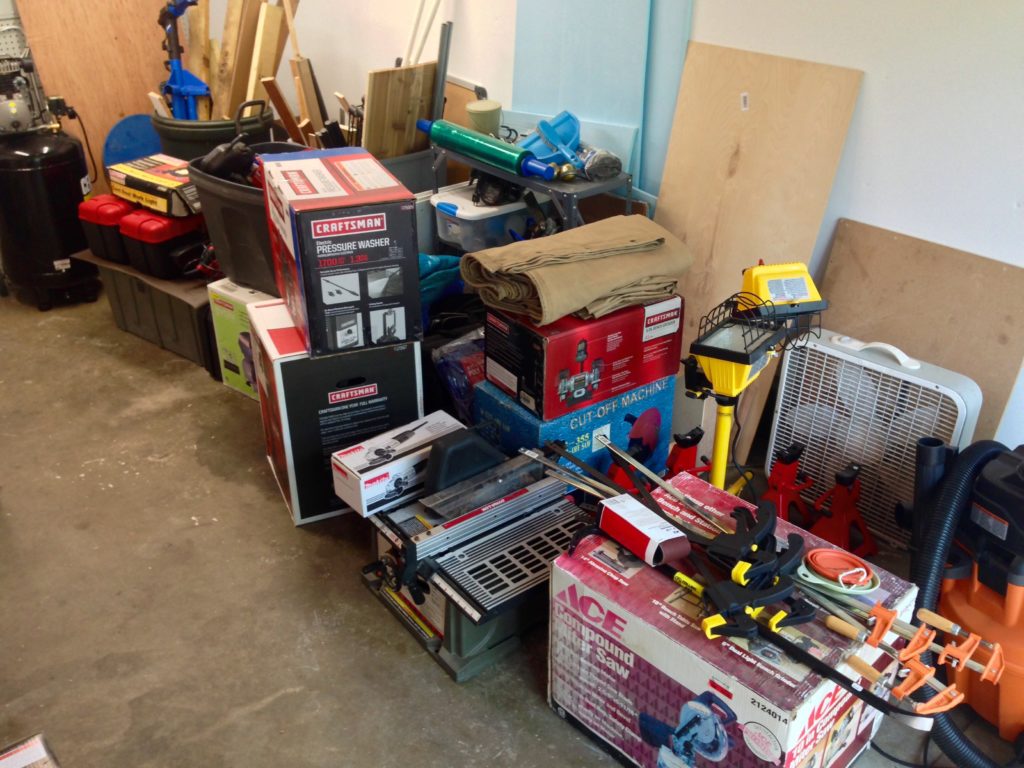
After crossing off most of my big to-do items inside the house the next priority was to convert our tiny garage into a moderately functional shop. It will be dedicated to tools and projects rather than parking a car.
It is only about 17′ x 10′ and with such a small work space I need to be fairly efficient, get rid of unnecessary stuff and make sure the things that I do need actually have a place to live. Part of the problem with creating an organized shop is knowing what you need to store and then spending some time planning it out. The problem in my case is that I am just now acquiring all these tools and i don’t want to spend forever trying to get it “just right” (as if that were possible in the first place). So with that I decided to start building the most substantial part of the work space.
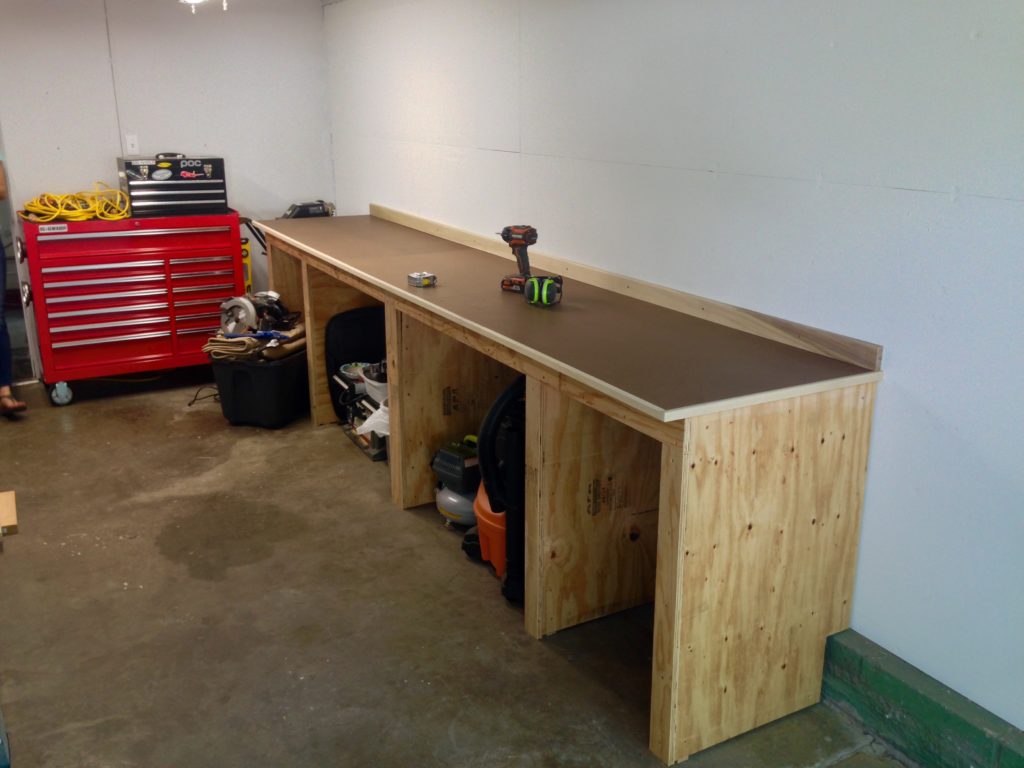
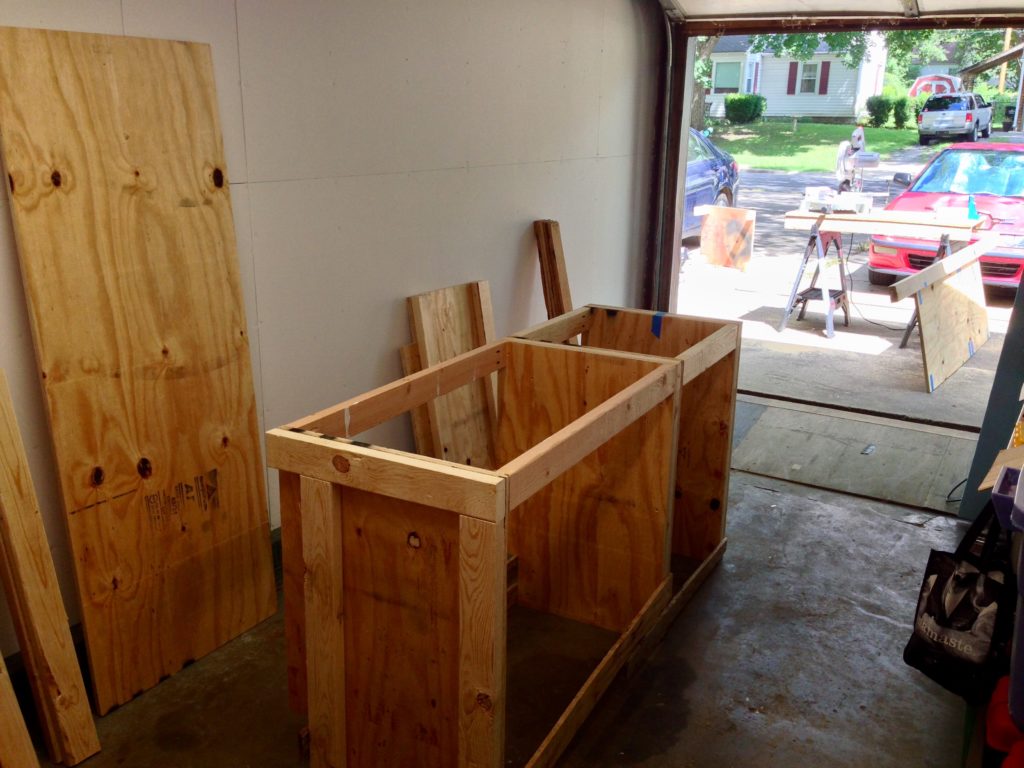
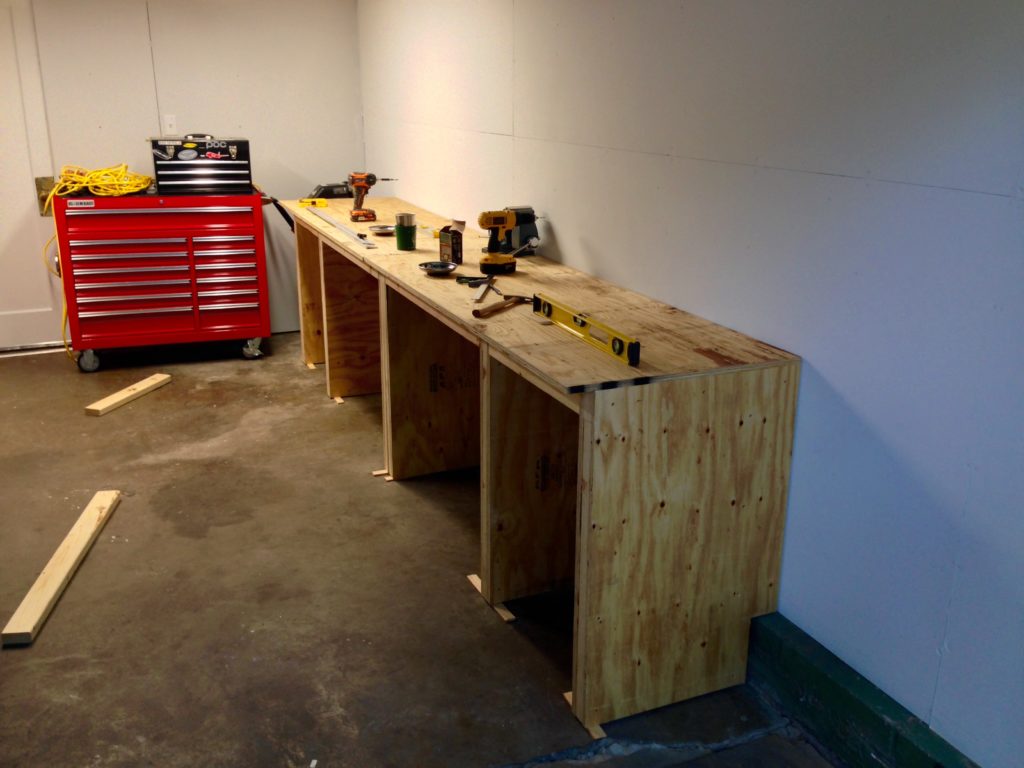
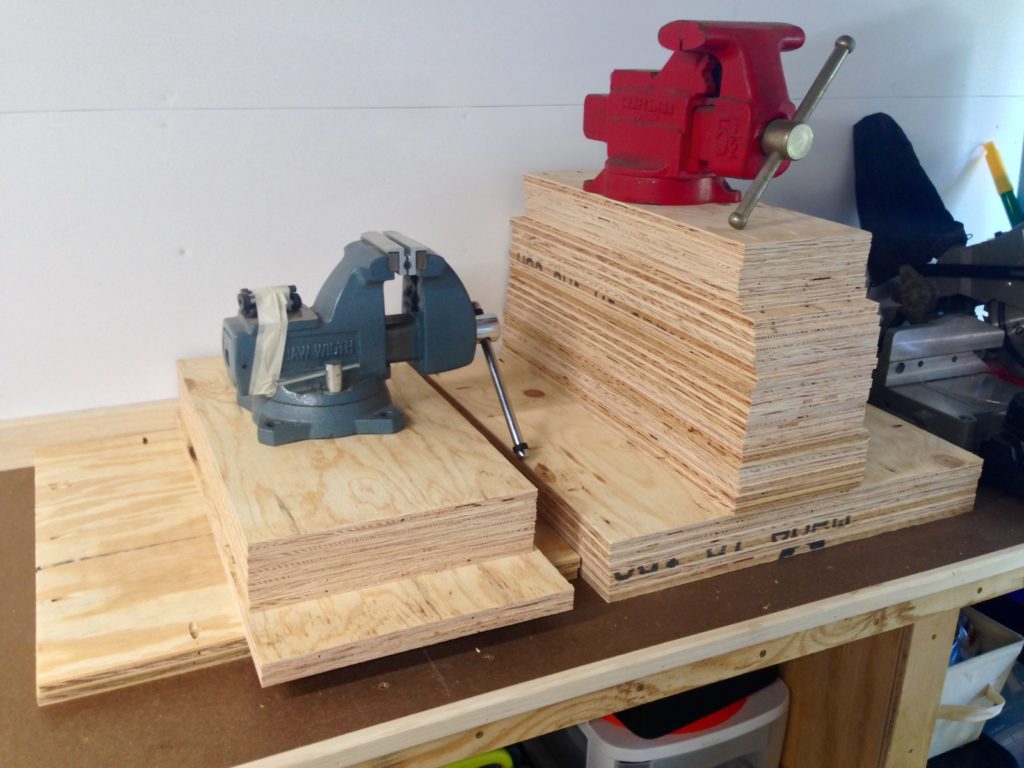
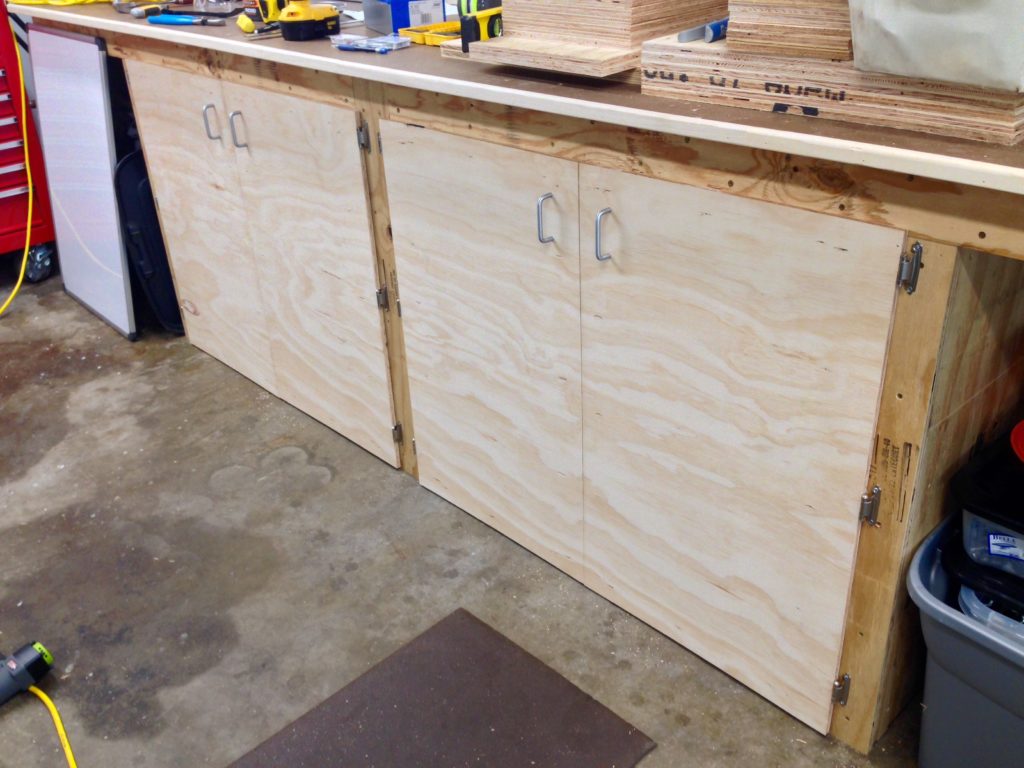
The Main Workbench – I wanted a large solid surface to work on and support tools like the drill press, belt sander, chop saw, etc.. Equally important is all the storage underneath with full extension HD drawer slides and big open cabinet bays where I can install shelves at any height to keep the bulkier items out of sight.
Lighting – Another important thing to me is lighting. I am really impressed with the color and brightness of my four LED shop light fixtures. Should help a lot when working during the long, dark winter nights. Plus I mounted two of the lights so that I can still see when the garage door is open. Up above in the mezzanine storage area I used a few old fluorescent fixtures linked to a switch so that I can see while digging around up there. No dark corners allowed in my shop.
Speaking of the Mezzanine – It was feeling pretty springy toward the open end with just 2x10s on edge making the span. My quick and dirty solution was to rig up some left over steel cable and tension it with a turnbuckle (you can barely get a glimpse of it in the video). Now it is solid and inspires confidence. Nice.
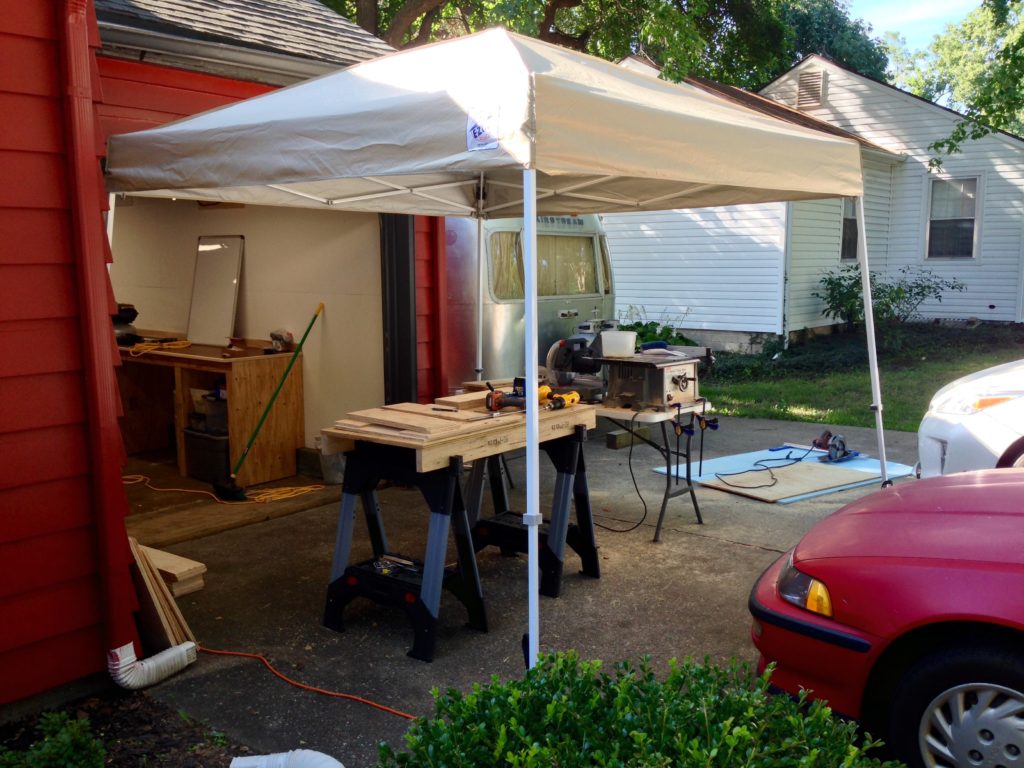
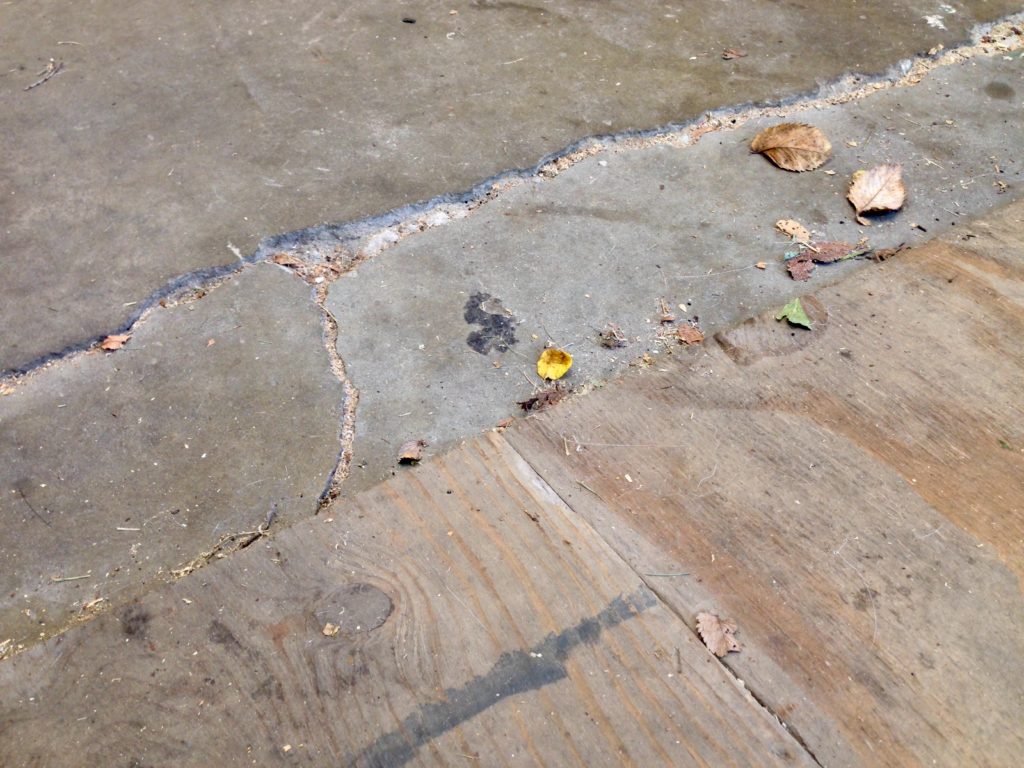
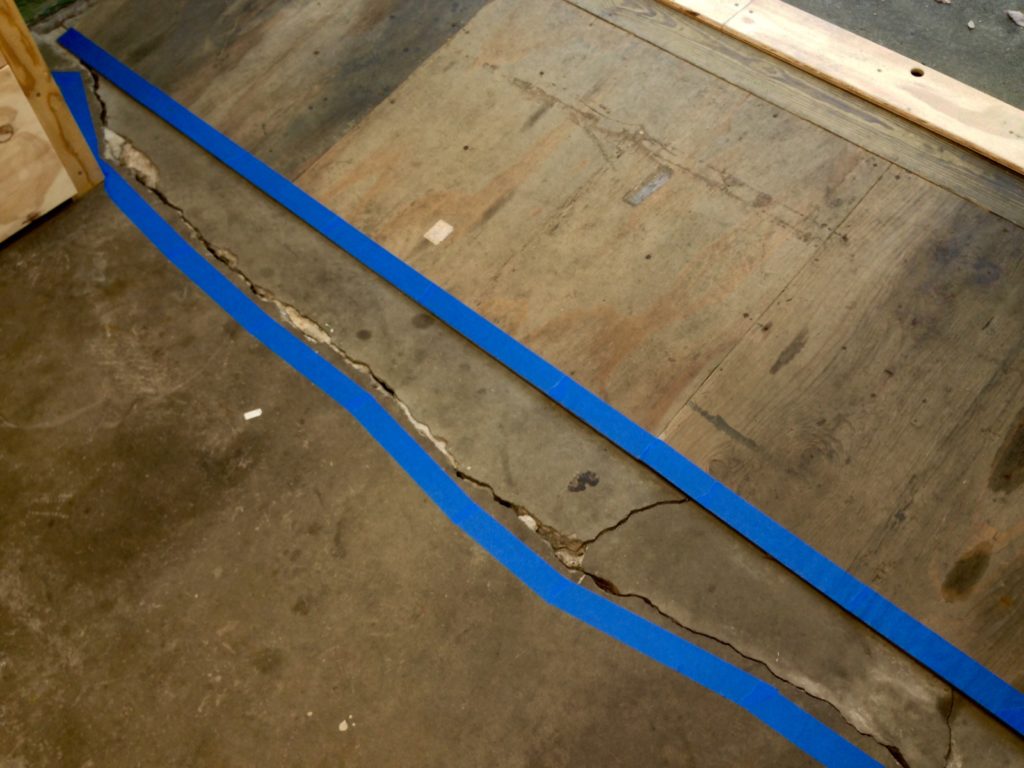
The Ramp – One quirky thing about this garage is the ramp that the previous owners built so they could pull a car in. But the reason for it is because (according to our neighbor who helped them build the ramp) the previous-previous owner poured a new driveway right over the old cracked one rather than demolishing it! I could have just removed the ramp to gain a little additional floor space but for now decided to roll with it. At least the guy poured a nice big, level driveway which will help a lot when working on the Airstream. As silly as it sounds that was actually a big selling point for us.
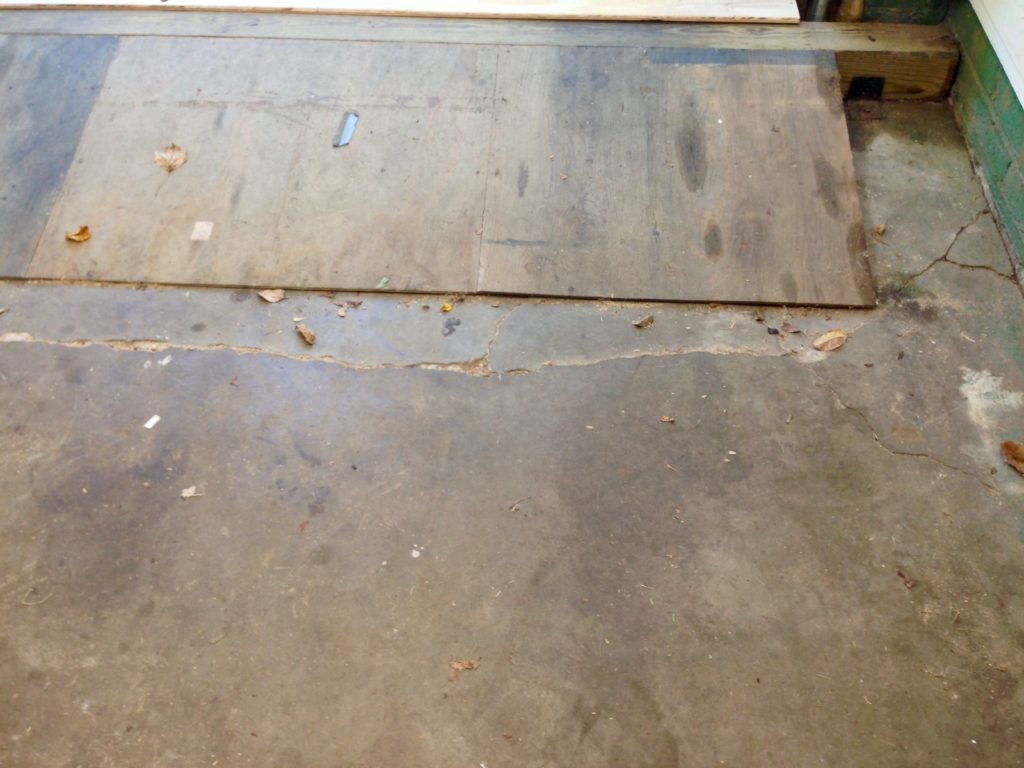
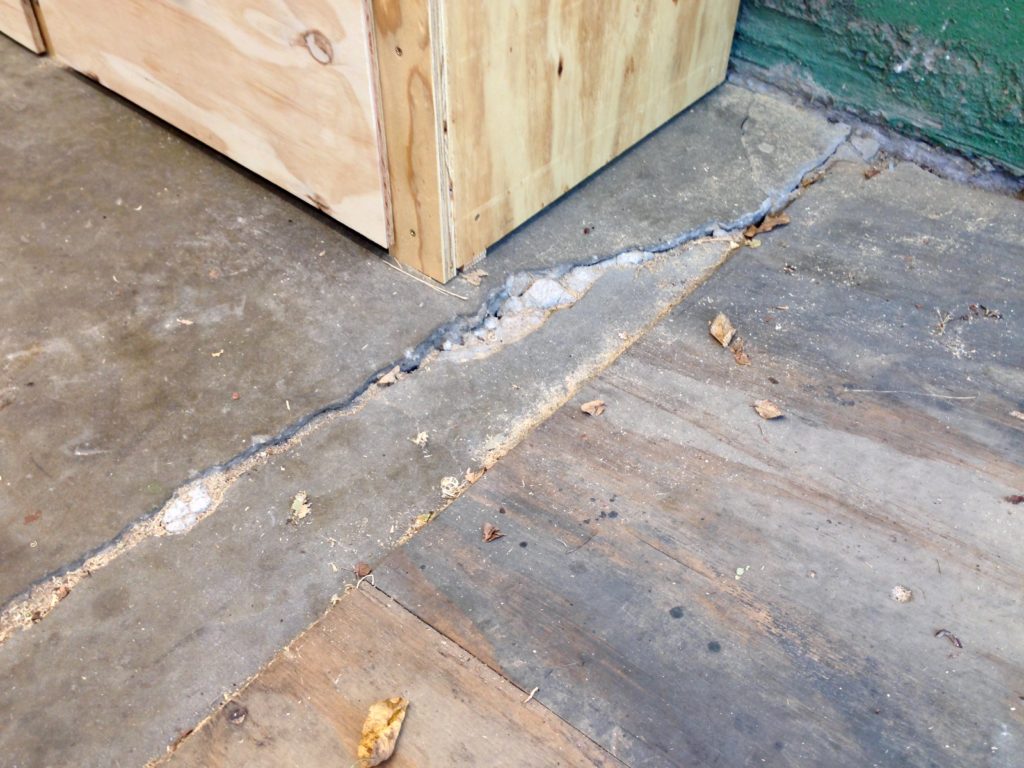
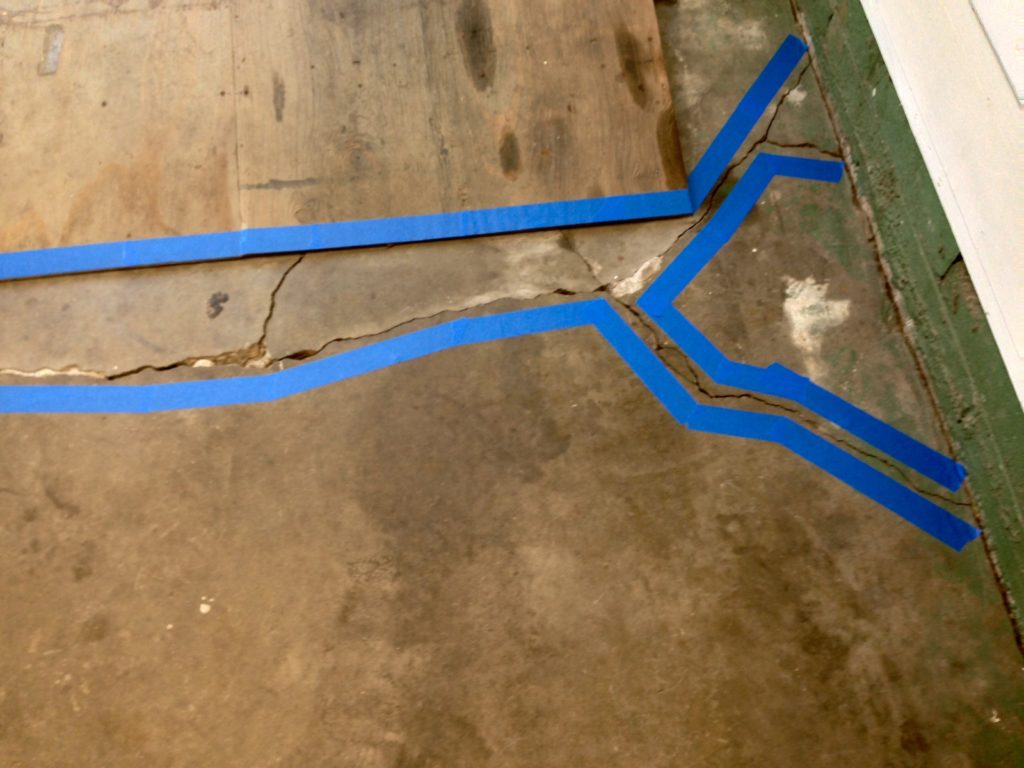
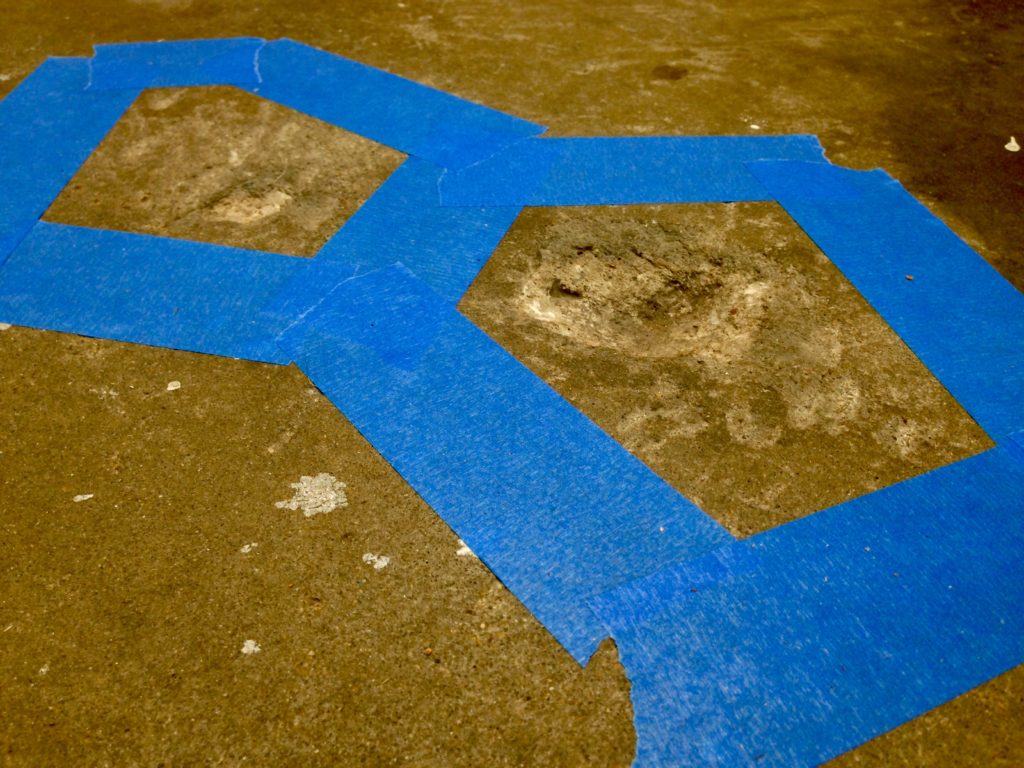
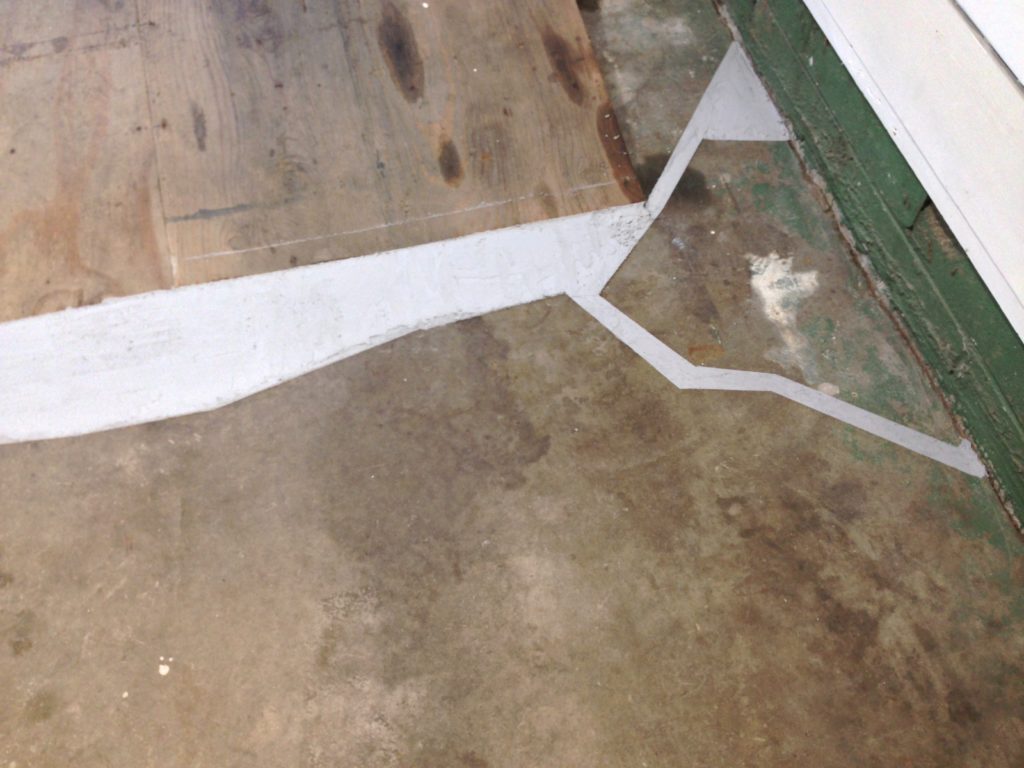
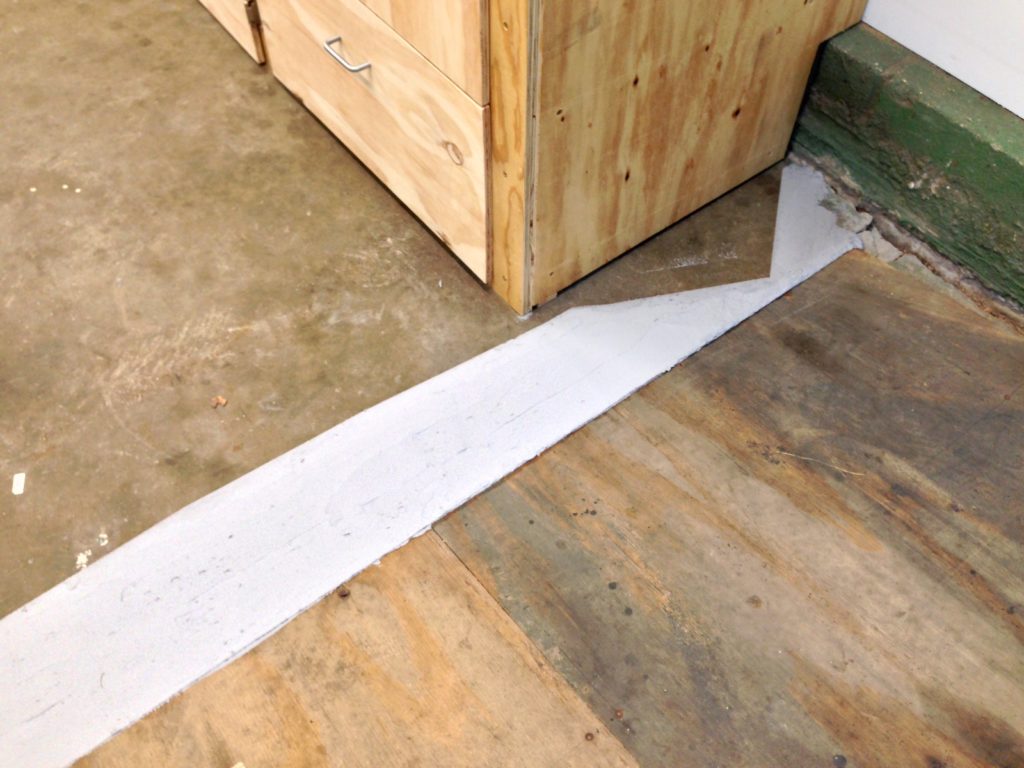
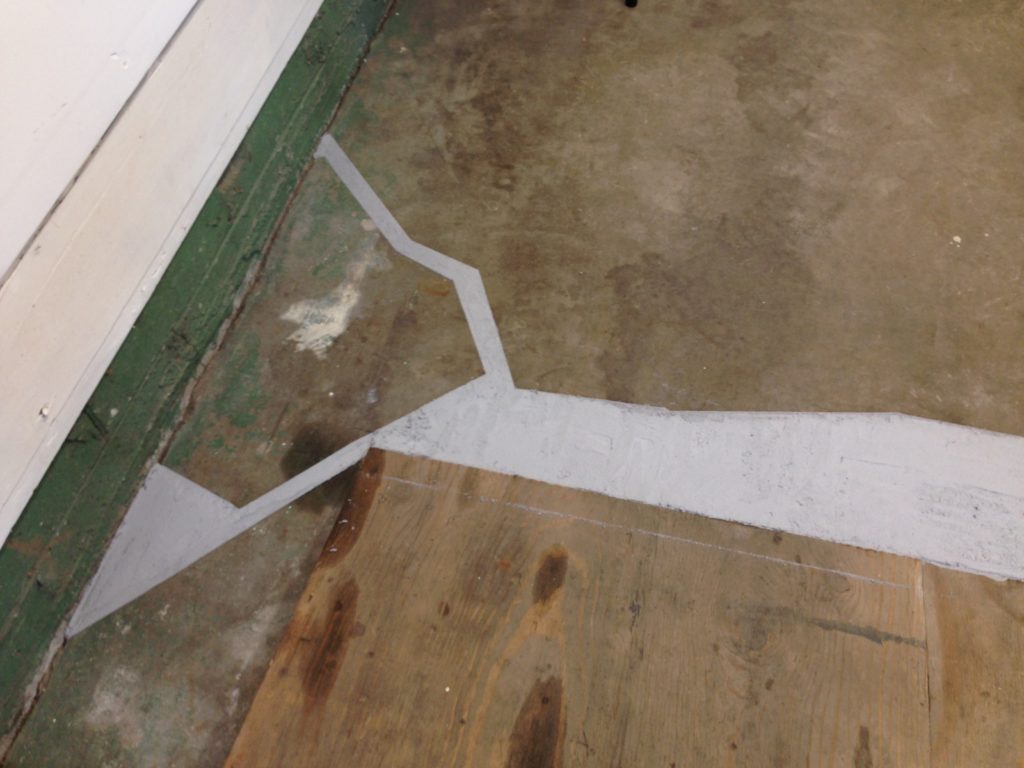
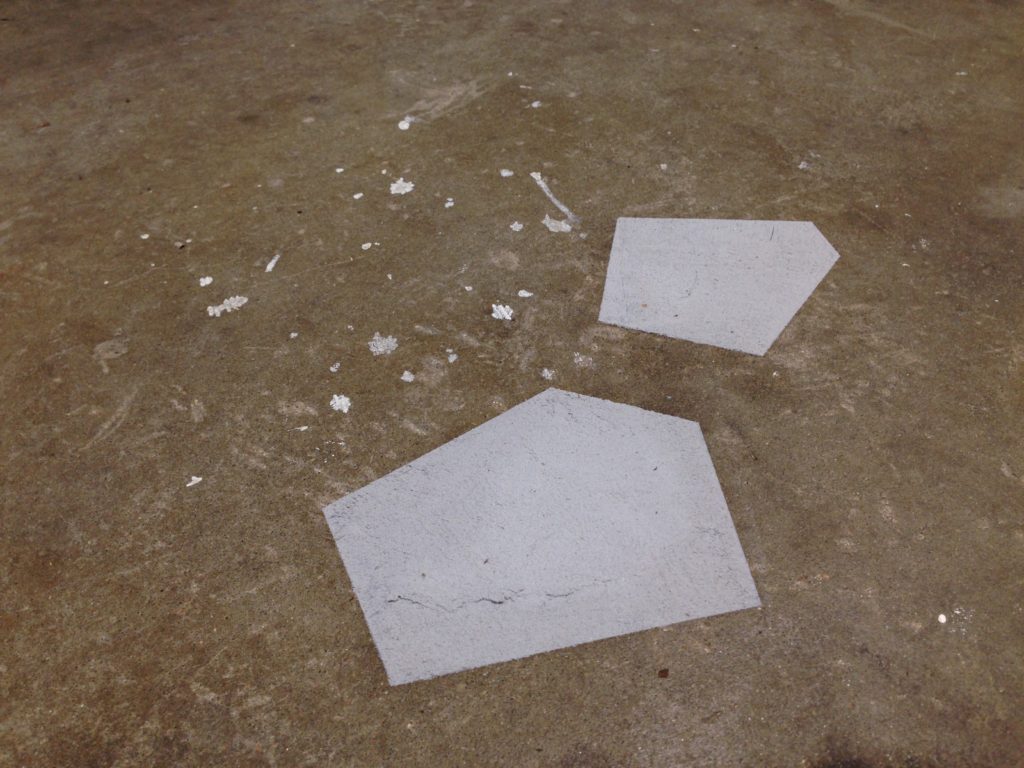
Concrete Patch – I know Jessie thought I was lost in the weeds again when she saw me slopping gray goop all over the garage floor but it was another “now or never” sort of thing like painting the walls. Anyway, it only ended up taking a few hours and the results are surprising in real life. Sure, it kinda looks nicer but I’m more excited by the smaller details: No more collecting all kinds of dirt and debris, it’s almost enjoyable to sweep now. No more unsightly cracks to swallow up dropped fasteners and such. No more tripping hazard. No more rough transition when rolling stuff in and out. We’ll see how it holds up over the coming months and years.

So its nothing groundbreaking and I’m sure things will change quite a bit as time goes on but for now I feel much better about getting to work on the Airstream. I know people have done amazing jobs with less of a shop than this so I’m happy to have it. Thanks for checking it out! I really enjoy peeking into real-world shops and I intend to post updates of mine as things change.

